
Last updated October 16, 2026
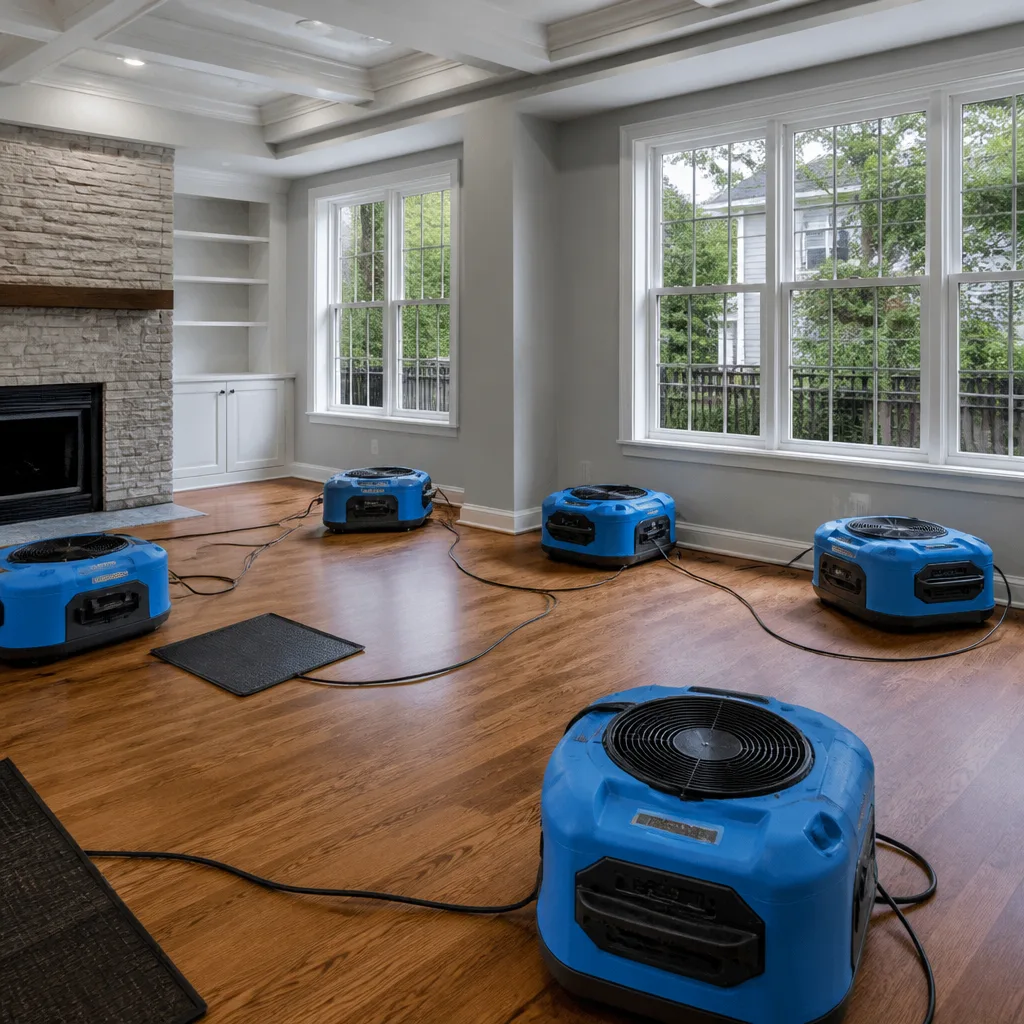 Water damage drying
 Fire & smoke cleanup
 Mold remediation
 Storm response
 Sewage cleanup
 Reconstruction
Free visual inspection and a written scope of work before any mitigation begins - photos, moisture readings, and drying logs go in your claim file
The scope we write is the scope we bill. Anything new gets shown to you, in writing, before we touch it.
Get your free estimateWater Damage Restoration Maintenance Checklist for Houston Homeowners
Ask a Houston homeowner what causes water damage and most will point at hurricanes, tropical storms, or the bayous that rise after a heavy spring rain. But ask any restoration crew what they actually pull out of homes week after week and the answer is far less dramatic: a failed AC condensate line dripping into a hallway, a cast-iron drain pipe that finally rusted through under a 1960s slab, or a slow slab leak that quietly saturated the subfloor for months before the baseboards started to warp. The weather gets the headlines. The plumbing and the HVAC do the real damage. This guide is a maintenance checklist built around the failure points that actually put Houston homes underwater, not the generic “check for leaks” advice or The Complete Guide to Damage Restoration in Houston you’ll find everywhere else.
Quick Answer
A Houston-specific water damage prevention checklist should prioritize monthly AC condensate line flushes, an annual test of the float switch, a quarterly water meter test for slab leaks, an annual cast-iron drain inspection for homes built before 1982, and a documented pre-storm baseline for insurance claims. Most standard checklists miss these five items entirely, which is why Houston homes fail in predictable, preventable ways. For Damage Restoration Cost Breakdown: The Houston Homeowner’s Reference for 2026, see our dedicated breakdown.
Restoration work we handle
Table of Contents
- AC Condensate Line Flush and Float-Switch Test
- Cast-Iron Drain Inspection Protocol for Pre-1982 Homes
- How to Read Your Water Meter for Slow Slab Leaks
- Seasonal Gutter and Downspout Grading Checks for Flat Lots
- Pre-Storm Documentation: Building a Clean Insurance Baseline
- Appliance and Fixture Inspection Schedule
- Humidity and Condensation Control in Year-Round AC Homes
- When to Call a Professional
AC Condensate Line Flush and Float-Switch Test
In Houston, the air conditioner runs from March through November, and often into December. That means the condensate line, the thin PVC pipe that carries moisture away from the indoor unit, is working almost constantly. When it clogs, which it will, the water backs up and spills into the hallway, the closet, or the attic. We’ve pulled baseboards off walls in Meyerland and Kingwood where the only source was a condensate line that had been clogged for weeks. The fix takes ten minutes a month. The repair takes days.
The monthly routine, in order:
- Locate the condensate line. It’s the white PVC pipe coming off the indoor air handler or furnace, usually running to a floor drain, a utility sink, or outside to the flowerbed.
- Remove the access cap or T-fitting. Most Houston installs have a clean-out access point near the air handler.
- Pour one cup of white vinegar or hydrogen peroxide down the line. This dissolves the algae and biofilm that grow in the standing water. Do not use bleach, which can damage PVC over time.
- Wait 15 minutes and flush with clean water. If the water drains slowly or not at all, the line is already partially clogged and needs a wet/dry vac on the outlet side.
- Test the float switch. Most modern Houston systems have a safety switch in the drain pan or the line itself. Lift the float up with a pencil. The system should shut off. If it doesn’t, replace it before the next clog, because a failed float switch means a clog turns into an overflow instead of a shutdown.
This is the single highest-ROI maintenance item in this entire guide. Ten minutes a month costs nothing. A condensate overflow in a second-floor attic can soak ceiling drywall, carpet, and subfloor across two levels.
Our position: If the float switch fails and the overflow has already happened, shut off the unit at the breaker, contain the standing water with towels, and start documentation for your insurance claim before you touch anything else. The Water Damage Restoration in Houston page covers the first 24 hours in detail.
Cast-Iron Drain Inspection Protocol for Pre-1982 Homes
Houston grew fast in the postwar decades, and most homes built before 1982 were plumbed with cast-iron drain lines under the slab. Cast iron rusts from the inside out. It doesn’t fail visibly the way a copper pipe might. It thins, develops pinholes, and eventually collapses, usually under a kitchen, a bathroom, or a hallway. By the time water shows up on the floor, the line has been failing for months.
If your home was built before 1982 and you haven’t had the cast iron replaced, this is your highest structural risk, ahead of hurricanes, ahead of flash floods, ahead of a burst washing machine hose.
Annual protocol, ideally in January or February before the spring rains:
- Inspect every exposed cast-iron section. Crawl space, attic, garage, wherever a pipe is visible. Look for rust blooms, flaking, weeping joints, or dark vertical streaks that indicate slow seepage.
- Check for floor movement or hairline cracks in the slab. A failed drain line erodes the soil beneath the slab, which creates settlement cracks you’ll see in the tile or concrete.
- Run a camera inspection of the main drain line. A plumber runs a flexible camera from the cleanout toward the main. The interior of a failing cast-iron line looks like cracked, scaling bark. This inspection costs $150 to $400 in the Houston market and tells you exactly where the failure is, and how much time you have.
- Listen for slow drains and gurgling. If the kitchen sink gurgles when the washing machine drains, the main line is partially collapsed. That’s not a clog, that’s a structural failure.
If the camera confirms cast-iron failure, the fix is a whole-home repipe or a trenchless liner, not a drain cleaning. We document cast-iron failures regularly on claims where the homeowner thought they had a simple backup, and the scope of loss is the entire run of pipe under the slab. The drain cleaning only bought a month.
How to Read Your Water Meter for Slow Slab Leaks
A slab leak is a leak in the water supply lines that run under the concrete foundation. Most start small, a pinhole in a copper line caused by decades of thermal expansion and contraction against the slab. They rarely announce themselves. Instead, the evidence accumulates slowly: a warm spot on the floor, a musty smell in a corner bedroom, water bills that creep up month over month, a faint sound of running water when every fixture is off.
The water meter is the earliest, cheapest, most reliable slab leak test you have, and it takes ten minutes.
- Turn off every water-using appliance and fixture. Washing machine, dishwasher, ice maker, sprinkler system, every faucet, every toilet. If you have a water softener that regenerates on a timer, wait until it’s idle.
- Note the exact reading on your water meter. The trickle dial, if your meter has one, is a small triangle or gear that turns slowly. Write down the odometer reading to the last digit.
- Wait 20 minutes. No water use in the house. No toilet flushes. No hand-washing.
- Re-read the meter. Any movement in the odometer or the trickle dial means water is moving through the meter with all fixtures off. That’s a leak.
- Isolate the source. Shut off the water to each toilet, one at a time, and re-check the meter after each shut-off. A running toilet flapper is the most common culprit, and the easiest fix. If every fixture is isolated and the meter still moves, the leak is in the supply line itself, most likely under the slab.
Run this test quarterly. Write the date and reading in a notebook or a phone note. A slow slab leak caught in a quarter costs a plumbing repair. The same leak left for a year saturates the subfloor, wicks up the drywall, grows mold, and turns into a restoration job.
We’ve seen slab leaks in nearly every neighborhood that has 1970s and 1980s copper, from Sharpstown to Spring Branch to Clear Lake. The homes don’t look any different from the outside. The meter doesn’t lie.
Seasonal Gutter and Downspout Grading Checks for Flat Lots
Houston is flat. Most lots drain slowly, which means water that doesn’t get moved away from the foundation sits against the slab and eventually finds its way in, through the cold joint, through a crack, through the weep holes in the brick. Gutters and downspouts do the moving, which means the grading check matters more here than it does in a city with natural slope.
Twice a year, in March and again in October:
- Clean the gutters and check the slope. Gutters should pitch toward the downspout at about a quarter inch per ten feet. A sagging gutter holds water, breeds mosquitoes, and overflows against the fascia.
- Check downspout discharge. The water should discharge at least five feet from the foundation. Downspouts that dump at the corner of the house are actively channeling water into the slab. Extend with a splash block or a buried extension pipe.
- Check the grade. Soil and mulch should slope away from the house, ideally six inches of fall over the first ten feet. Houston’s clay soil expands and contracts, so grade drifts over time. Add compacted topsoil where the grade has flattened.
- Check window wells and exterior stairwells. These collect leaves and debris, which turns them into storm drains with no outlet, sending water under the door threshold.
This isn’t a repair item, it’s a prevention item. The difference between a foundation that stays dry and one that takes on water every storm is often just a downspout extension, which costs under $30 and installs in an afternoon.
Pre-Storm Documentation: Building a Clean Insurance Baseline
There’s a pattern that repeats every hurricane season. A storm comes through, a homeowner files a claim, and the adjuster asks for proof that the damage is new, not pre-existing. The homeowner has no photos from before. The claim stalls. The adjuster can’t separate the water stain from two years ago from the water damage from last week.
The solution is pre-loss documentation, and Houston homeowners should build it now, before the next named storm enters the Gulf. At Keegan Restoration Houston home, we recommend keeping a simple file on your phone or in the cloud:
- Walk the perimeter of the house and video every room. Narrate what you’re filming. Show the ceiling, the baseboards, the floors, the window frames. Note any existing water stains, cracks, or gaps and state out loud that they’re pre-existing.
- Photograph the mechanical room, the water heater, the HVAC, and the electrical panel. These are the items most likely to be involved in a flooding claim.
- Photograph the exterior walls, the roofline, and the grading from each side of the house, so the claims file has a clear pre-loss baseline.
- Store a copy offsite. Cloud storage, a second phone, a relative’s email. If the phone is lost in the storm, the baseline is gone too.
- Update the file annually, or after any major renovation or repair.
This is the documentation standard that makes insurance claims resolve cleanly. The same standard applies when we scope a loss: photo documentation of every affected area, before any equipment goes in, formatted to support the claim. The insurer needs to see what was wet, what was damaged, and what the measured moisture content was. Pre-loss photos are the baseline. Post-loss photos are the claim.
Appliance and Fixture Inspection Schedule
Beyond the slab, the drains, and the AC, the other water sources in a Houston home fail on a predictable schedule. The checklist below is ordered by risk, based on the claims we’ve worked and the failures we’ve documented.
Washing Machine Hoses
Rubber supply hoses fail at the fitting, where the crimp weakens over time, and they fail catastrophically, at full pressure, when no one is home. In Houston, the laundry room is often in the hallway or the garage, which means the water runs to the baseboard and the adjacent room within minutes. Replace rubber hoses with braided stainless steel every five years, and shut off the supply valves when you travel.
Water Heater
Houston’s hard water accelerates tank corrosion. The standard glass-lined tank lasts 10 to 12 years here, often less. Inspect annually for rust at the drain valve, the TPR valve, and the supply connections. If the drain valve is leaking or the tank is visibly pitted, replace the unit before it fails, because a tank failure releases 40 to 50 gallons of water into the room in about 20 minutes. Note: this is not a DIY drain-and-refill, because the temperature and pressure relief valve is a safety device. If it’s corroded or weeping, call a plumber.
Refrigerator Ice Maker and Supply Line
The small copper or plastic line that feeds the ice maker rubs against the wall and develops pinholes. Check the line for kinks, crimps, and corrosion annually, and replace a copper line with a braided supply line at the first sign of wear.
Toilets
A running toilet is a water bill problem. A cracked toilet tank or wax ring failure is a water damage problem. Inspect the base for moisture staining, and press gently on the bowl to check for rock, which indicates a deteriorated wax ring or a rotten subfloor.
Outdoor Hose Bibs and Sprinkler Backflow
Houston’s hard freezes, rare as they are, do real damage to hose bibs and backflow preventers. After any freeze, check the hose bib for a split, which only shows up when the water is turned on. A split bib can pour water inside the wall cavity for hours before anyone notices.
Humidity and Condensation Control in Year-Round AC Homes
Houston’s humidity is the quiet multiplier on every other water problem. Relative humidity above 60 percent, which happens whenever the AC isn’t running enough to pull moisture from the air, encourages mold growth, warps wood, and accelerates the deterioration of everything else on this list.
The Houston-specific condensation checklist:
- Check the AC drain pan and the secondary drain line. The secondary line, often dripping from the soffit or eave, is a warning signal: it only runs when the primary line is clogged. See a drip, check the primary.
- Check the attic for condensation. If the attic ventilation is poor and the AC ductwork is uninsulated or has separated joints, the cold duct surface sweats in the Houston humidity, and the water drips onto the ceiling drywall.
- Monitor interior humidity with a hygrometer. A $15 meter from the hardware store is enough. Keep indoor humidity between 45 and 55 percent. Above 60 percent, run the AC or a dehumidifier.
- Look for closet condensation on exterior walls. Closets on north-facing or shaded walls don’t get the air circulation they need, and condensation forms behind hanging clothes. Leave the doors open, or install a small vent.
In our experience, the homes that develop mold after a water event are the ones that were already riding high humidity. The water event just tips it over.
Common Mistakes to Avoid
- Running the AC with a clogged condensate line, assuming the float switch will handle it. Float switches fail. The switch is a backup, not a maintenance plan.
- Ignoring a slow drain as a clog, in a pre-1982 home with cast-iron. A slow kitchen sink in a 1960s Sharpstown home is frequently a collapsed cast-iron pipe, not a grease clog, and a drain cleaning only buys a month or two.
- Skipping the water meter test because the water bill hasn’t spiked. A slow slab leak doesn’t always move the bill enough to notice. The meter catches what the bill misses.
- Waiting until hurricane season to check the gutters and grading. The work should be done in March, before the spring storms and the first named system, not in August when the yard is already saturated.
- Filing a claim without any pre-loss photos. The insurance carrier can’t distinguish old damage from new, and the claim stalls while the adjuster and the homeowner argue about what was already there.
- Assuming a wet spot will dry on its own. In Houston, it won’t. The humidity in a closed room keeps materials wet long enough for mold to establish, usually within 48 to 72 hours. Drying requires air movement and dehumidification, not just time.
When to Call a Professional
Call a Water Damage Restoration services professional when the water is in contact with drywall, flooring, or structural framing, when the source is a slab leak or a failed drain line rather than a plumbing fixture, when the water is category 3 (sewage or exterior flood water), or when the affected area is larger than a bathroom. Some problems are maintenance items and some are a scope of loss. The distinction matters, because drying a structural cavity properly requires commercial extraction and real psychrometric measurement, not a box fan.
Water Damage Restoration in Houston covers the process, from the initial inspection through structural drying. If water has already reached the drywall, Keegan Restoration Houston offers free estimates in Houston – call (325) 550-1783 and a live person will answer, at any hour.
See the difference
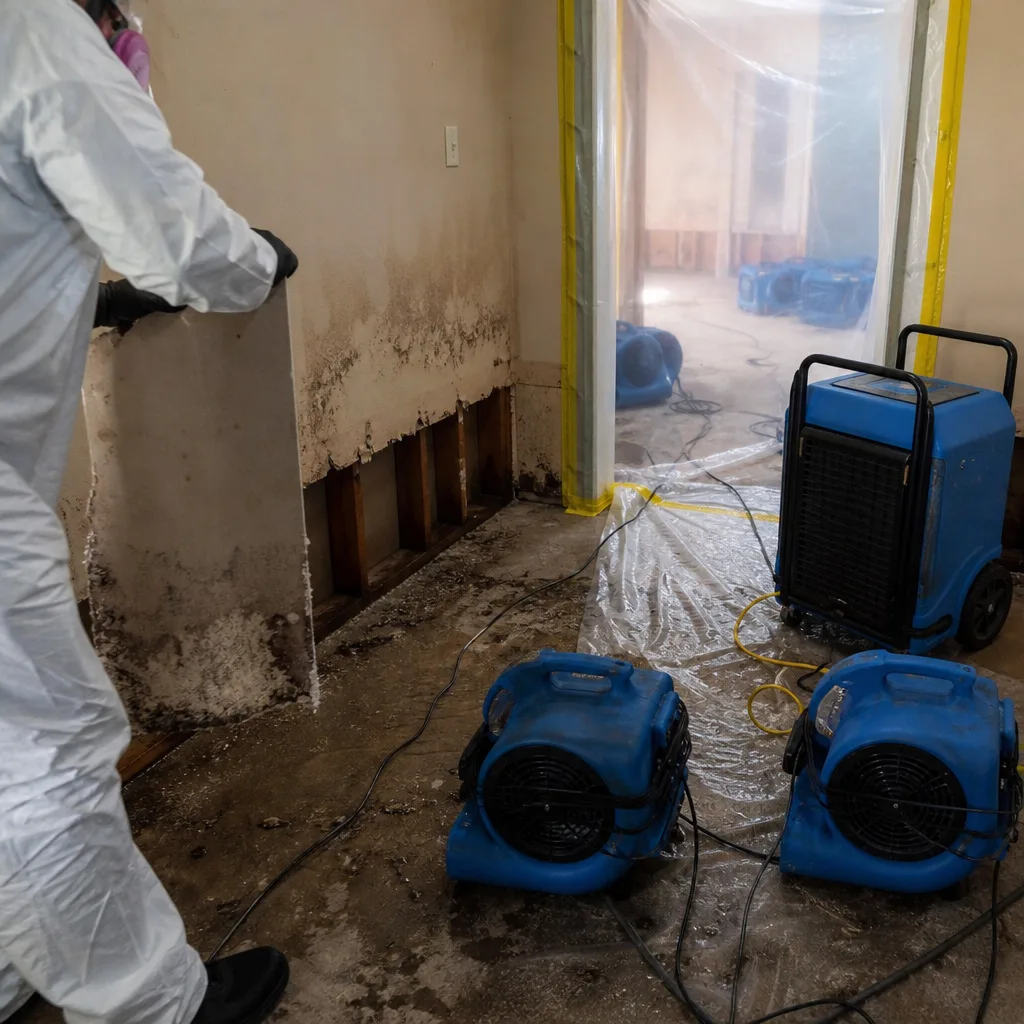 Before
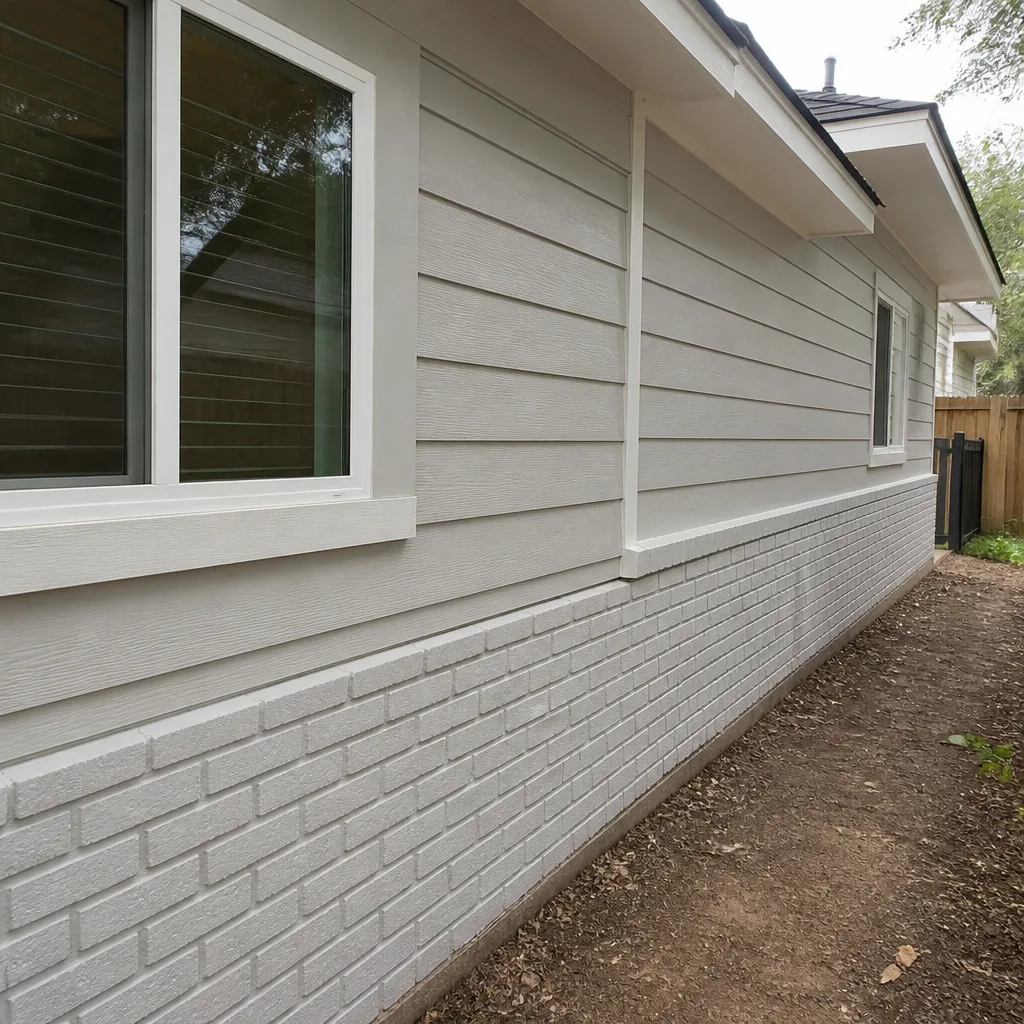 After
After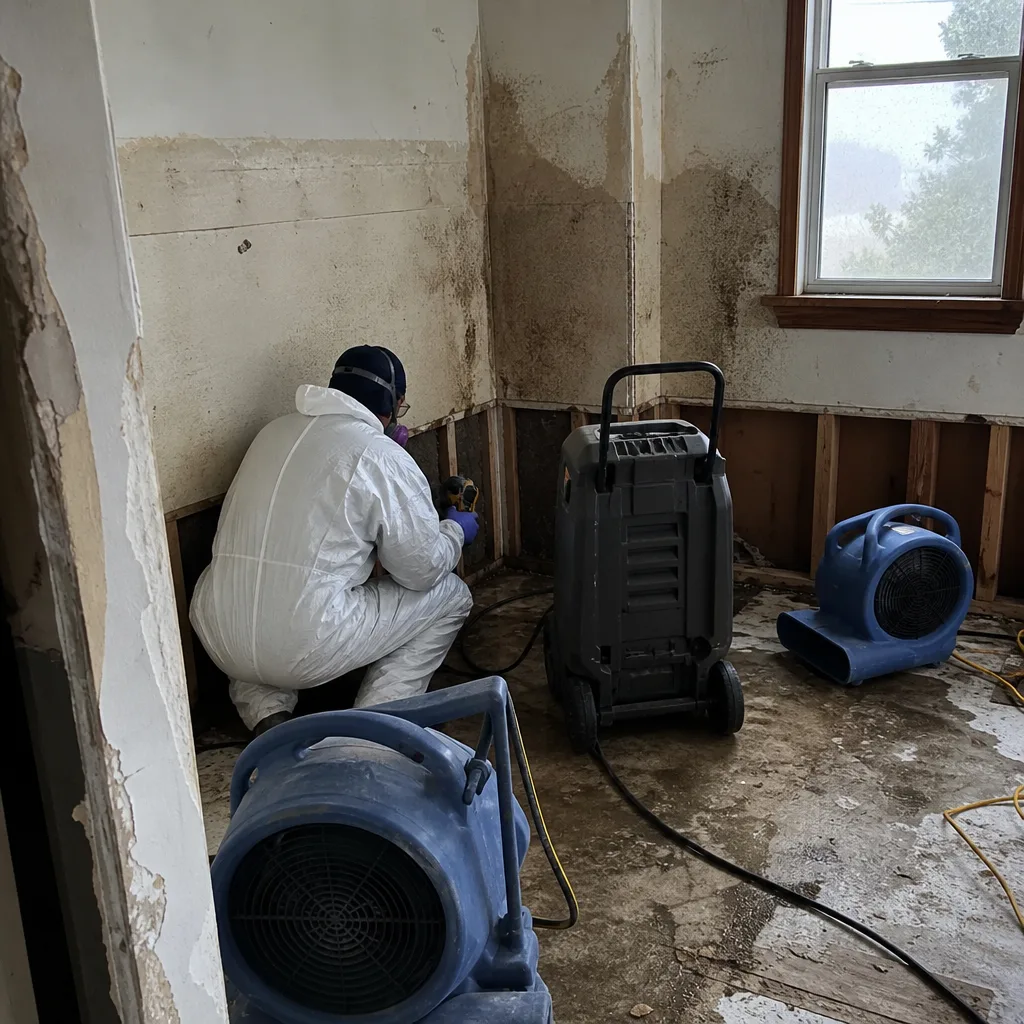 Before
 After
After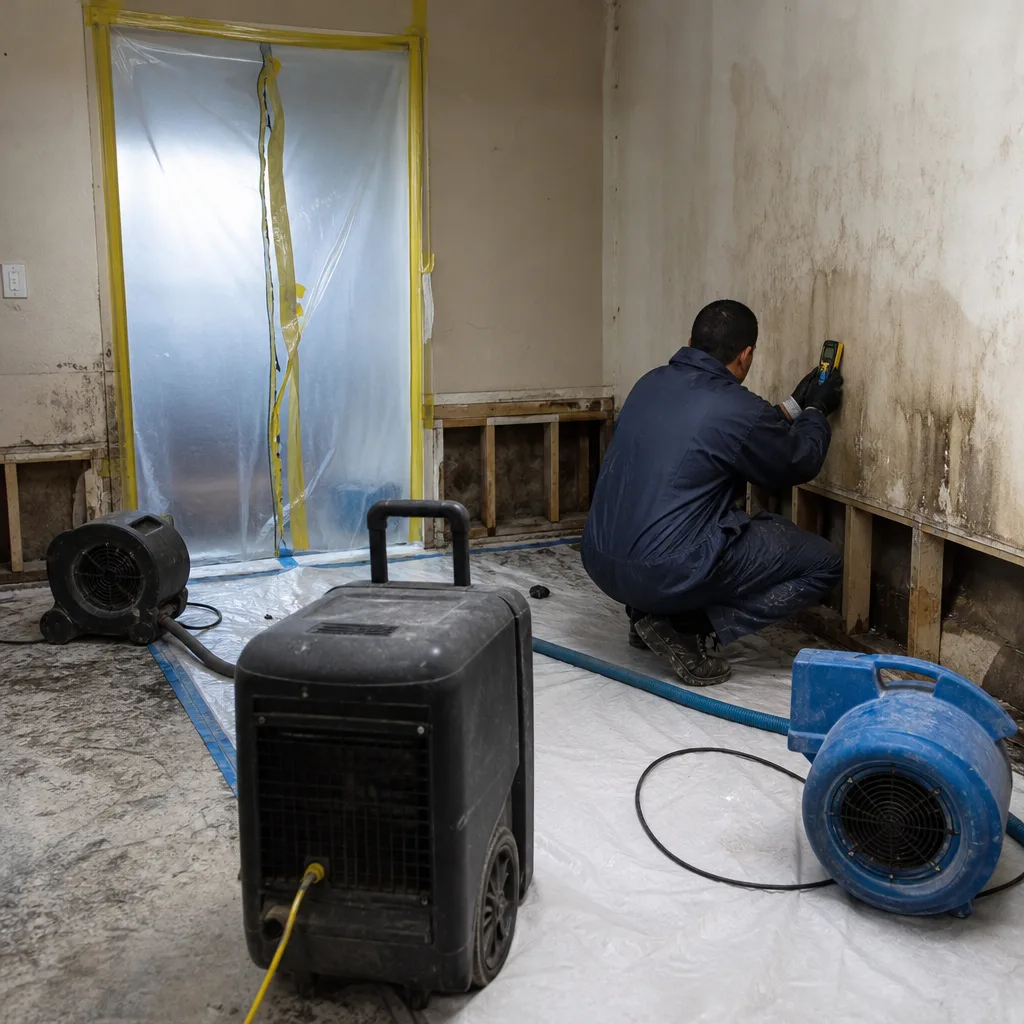 Before
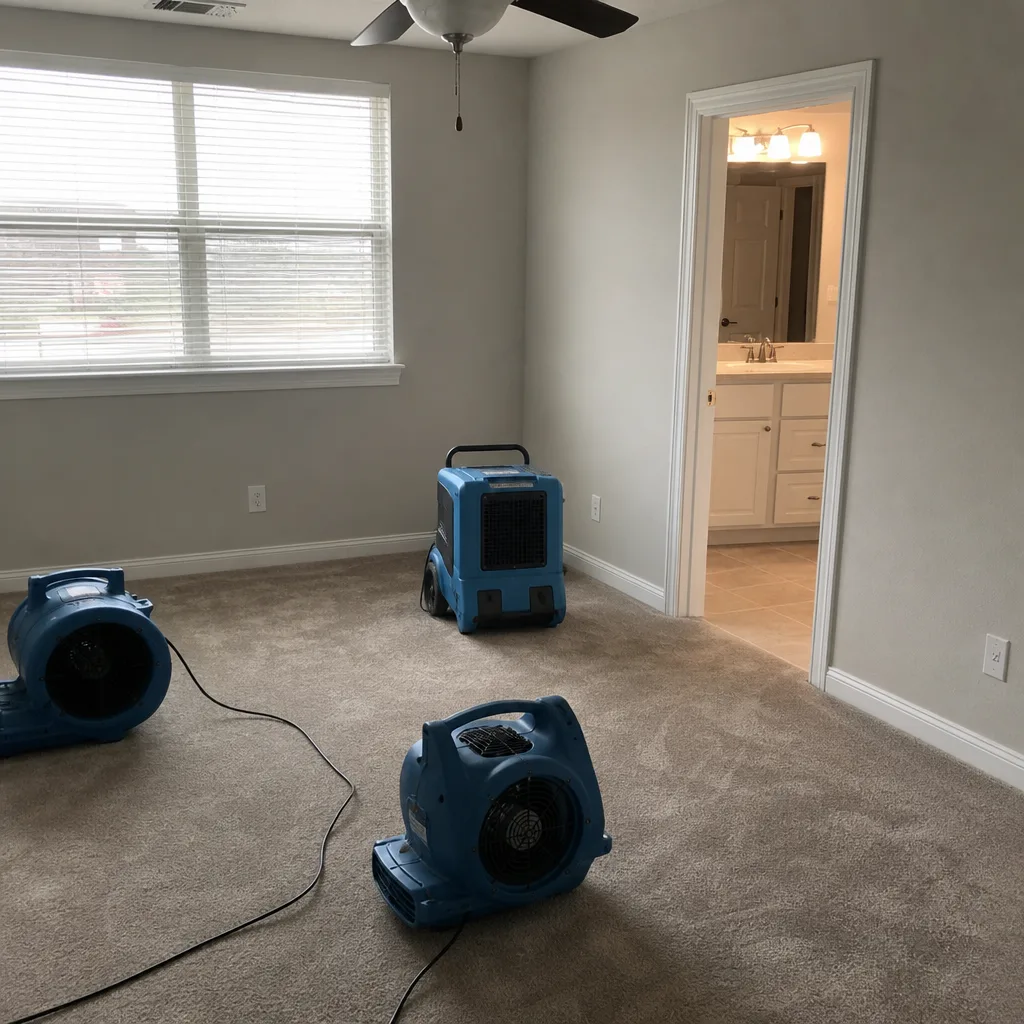 After
AfterFrequently Asked Questions
Monthly, from March through November, and ideally year-round. Houston’s AC season runs long, and the algae that clog condensate lines grow in warm, wet conditions, which is every month in Houston except the brief winter.
Most homeowners policies cover the water damage caused by a sudden pipe failure, but not the cost of repairing the pipe itself, unless you have a specific endorsement. The claim requires documentation of the source and the scope, which is why the pre-loss baseline matters. Call (325) 550-1783 for a free assessment before you file.
In our experience, it’s the AC condensate line and the pre-1982 cast-iron drain line, ahead of storms, ahead of burst hoses, ahead of everything else. The most common sources are the unglamorous ones.
In Houston’s climate, mold can establish in 48 to 72 hours, especially in the summertime when interior humidity is elevated and the air conditioning isn’t running. That’s why extraction and drying should start within the first day, not the first week.
It depends on the scope. A small supply line leak that only soaked a cabinet base may cost less than your deductible to repair, and filing a claim could raise your rates more than the repair is worth. A slab leak or a failed cast-iron line is a different conversation. Documentation first, then scope, then claim.
Same day, every day, including nights and weekends. A live person answers the phone at (325) 550-1783, and a crew is dispatched as soon as the extent of the water is understood. No phone trees, no call-back queues.
The Bottom Line
Houston’s water damage comes from predictable sources: a condensate line that clogs in the August heat, a cast-iron drain that rusts through under a 1960s slab, a slow leak that runs silently under the foundation for a year. The maintenance items in this guide cost almost nothing to perform, and the insurance baseline takes an afternoon to build. What they buy is the difference between a repair and a restoration, between a plumbing bill and a claim, between a home that stays dry and a home that goes under, slowly, while you’re not looking. Do the monthly flush. Run the meter test. Inspect the cast iron. Document the baseline. And if the water gets there anyway, fire and mold pages cover the related risks, and the phone at (325) 550-1783 is answered by a person, any hour, every day.
Written by Shane Pruitt, Owner at Keegan Restoration Houston, serving Houston since 2005. Explore more guides & resources from our team.