
Last updated October 16, 2026
 Water damage drying
 Fire & smoke cleanup
 Mold remediation
 Storm response
 Sewage cleanup
 Reconstruction
Free visual inspection and a written scope of work before any mitigation begins - photos, moisture readings, and drying logs go in your claim file
The scope we write is the scope we bill. Anything new gets shown to you, in writing, before we touch it.
Get your free estimateDIY vs Professional Damage Restoration: The Houston Homeowner’s Decision Guide
A Houston homeowner we worked with last year rented a big-box dehumidifier after a slow slab leak behind a guest bathroom wall. Three weeks later, he declared the floor dry, returned the unit, and moved on. Six weeks after that, he was standing in the same room watching a contractor pull up buckled hardwood over a subfloor with active black mold. The rental unit had moved less than 15% of the moisture a professional drying rig would have extracted. He ended up paying for the full restoration anyway, plus the cost of replacing flooring he might have saved. This guide exists so you don’t become that homeowner. We’re going to walk through exactly where the DIY line sits in Houston, what the equipment gap actually means in this city’s humidity, and how to decide before the damage decides for you.
Restoration work we handle
Quick Answer
DIY restoration is appropriate for clean water on non-porous surfaces, contained to under 10 square feet, with no wall, floor, or structural involvement, addressed within 24 hours. Professional restoration is non-negotiable for any Category 2 or 3 water, any mold presence, any structural component exposure, or any event tied to an insurance claim. Houston’s ambient humidity between 70% and 80% means residential drying equipment cannot reach the evaporation rates needed to dry building materials before microbial growth takes hold.
Table of Contents
- The Equipment Gap: What Rental Units Actually Move vs. Professional Drying Rigs
- Why Houston’s Humidity Changes the DIY Calculus Entirely
- Three Scenarios Where DIY Is Genuinely Appropriate
- Four Scenarios Where DIY Creates Legal and Financial Liability
- The Insurance Documentation Threshold: What Self-Remediation Destroys
- The First 30 Minutes: What to Do Before You Decide
- Common Mistakes to Avoid
- When to Call a Professional
- Frequently Asked Questions
- The Bottom Line
The Equipment Gap: What Rental Units Actually Move vs. Professional Drying Rigs
The DIY-versus-professional question in Houston is not primarily about skill. It’s about physics. The equipment you can rent from a hardware store and the equipment we bring to a water job are not two points on the same line. They’re two different categories of machine. Here’s the plain breakdown.
A typical residential rental dehumidifier removes between 10 and 20 pints of water per day at saturation conditions. Homeowners see a “70-pint” label on the box and assume the unit pulls 70 pints a day. It doesn’t. That number reflects performance in a 60% humidity test chamber at 80 degrees, not real-world saturated air. Set that rental unit in a Houston room with 75% ambient humidity and standing water in the subfloor, and it’ll move roughly 12 to 18 pints in 24 hours. That’s about one and a half gallons, give or take.
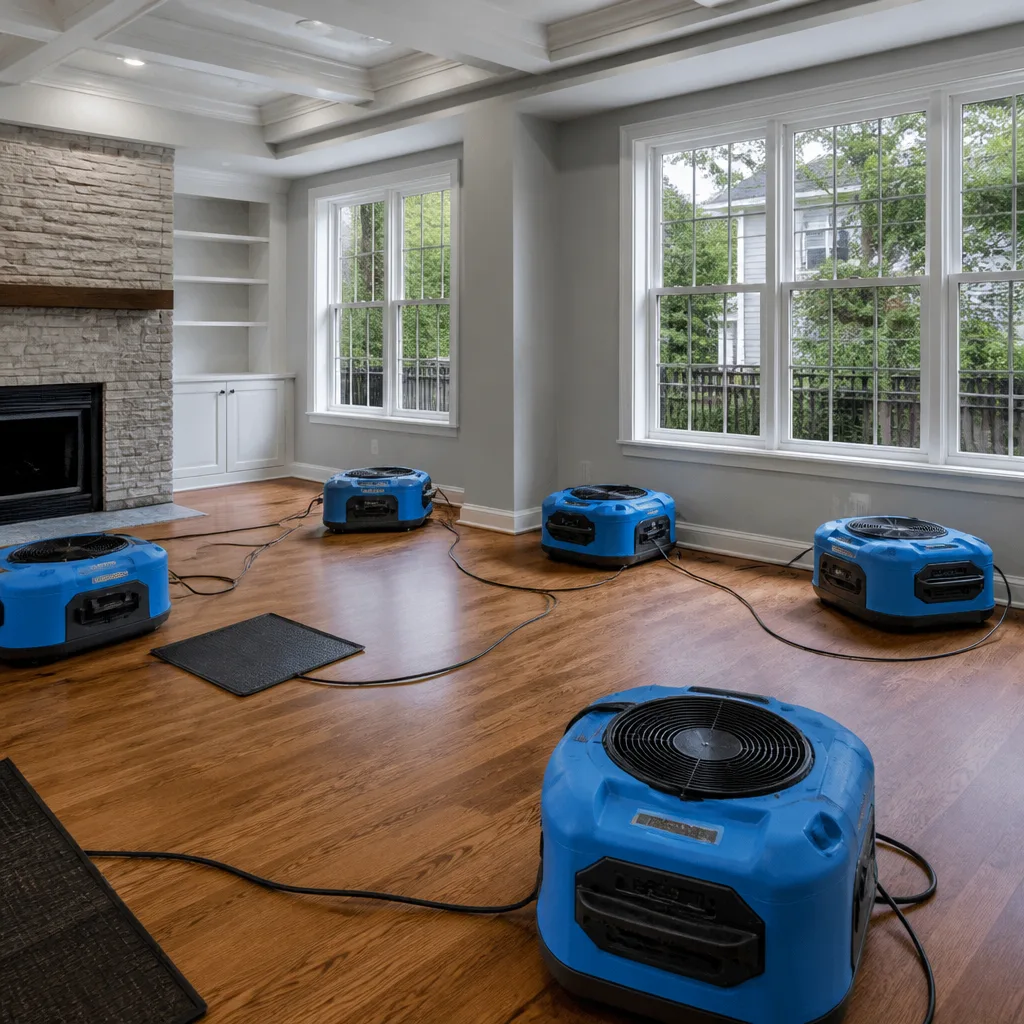
A professional LGR (low-grain refrigerant) dehumidifier, like the Dri-Eaz or Phoenix units we run, pulls 130 to 200 pints per day under the same conditions. Some desiccant units go higher. That’s ten to fifteen times the moisture removal. The difference matters because mold colonization in a wet building cavity begins within 48 to 72 hours. If a wall cavity holds twelve gallons of water and your rental unit removes a gallon a day, you’re still wet when the clock runs out. Every time. The arithmetic doesn’t change because you check the bucket more often.
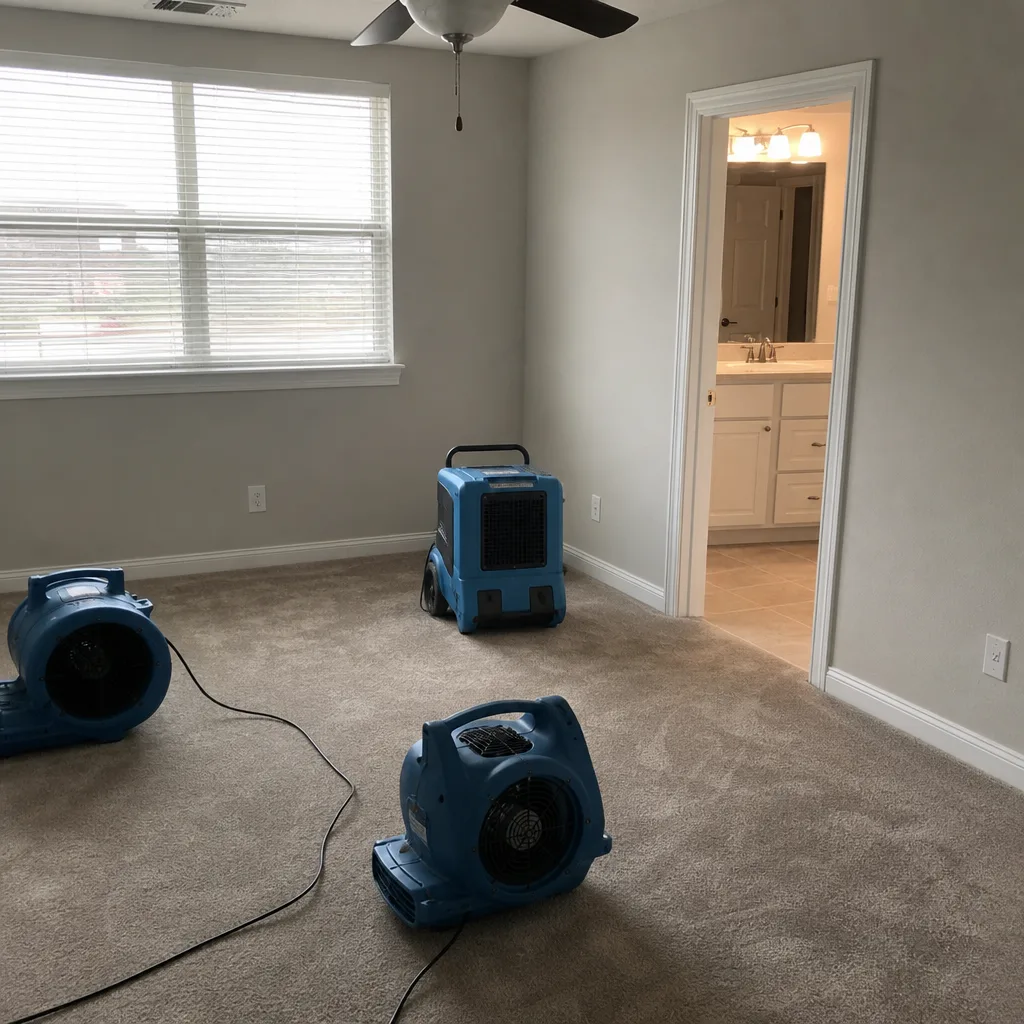
Air movement matters too. Professional axial and centrifugal air movers move 2,500 to 5,000 cubic feet per minute across wet surfaces to accelerate evaporation. Household fans move a fraction of that, and they’re pointed the wrong way half the time. Extraction equipment removes standing water from carpet and pad in minutes. A shop vac does a tenth of the job at a sixth of the speed, and you’re still left with the water that wicked up the drywall.
Most telling: moisture meters. We take psychrometric readings – temperature, humidity, and moisture content of the material itself – before, during, and after drying. A homeowner has no way to know the subfloor is dry. The surface feels dry. The floor looks dry. The meter says 9% moisture content. The surface says nothing.
The practical threshold for Houston: If water touched anything porous, and you can’t pull it up or cut it out within 24 hours, you don’t have the equipment to dry it before mold starts. That’s not an opinion. It’s a psychrometric calculation.
For reference, our full guide on Water Damage Restoration in Houston goes deeper into how professional drying works and what it costs in this market.
Why Houston’s Humidity Changes the DIY Calculus Entirely
Restoration guides written for national audiences will tell you drying times depend on temperature and humidity. That’s true. But most national guides aren’t written for a city where the morning dew point holds in the 70s for months at a time. Houston averages 70% to 80% ambient relative humidity most of the year. That means the air outside isn’t helping you dry anything. It’s actively working against you.
Here’s the practical version. Evaporation rate is driven by vapor pressure differential – the difference between how much moisture is in the material and how much moisture the surrounding air can still accept. When Houston air is already at 75% humidity, it has almost no capacity left to accept additional moisture. So a wet wall cavity in a Houston house won’t air-dry. Ever. Not to below microbial growth thresholds. The vapor pressure between the wet drywall and the humid air is nearly zero. Diffusion stalls. The wall gets moldy before it gets dry.
Professional drying rigs solve this by creating a sealed drying chamber with conditioned, low-humidity air. LGR units drop the air in the affected room to below 30% relative humidity, which creates the vapor pressure gradient needed to pull water out of wood and drywall. Desiccant units go lower and work better in exactly this climate. A rental dehumidifier can lower the humidity in a closed room by maybe 10 points. It can’t create the gradient that extraction requires.
There’s also a seasonal layer. During Houston’s shoulder-season storms – May rain events, the occasional stalled cold front – conditions outside are saturated. Opening windows to “air it out” after a water event is counterproductive. You’re pulling in air with more moisture than the air you’re replacing. Professional crews keep the envelope closed and control the environment mechanically.
This is where the DIY conversation in Houston genuinely differs from a well-ventilated house in dry Denver. The same water event in Denver air-dries in days. In Houston, the same event becomes a mold remediation inside a week. The city’s humidity does not care about your floor plan or your weekend schedule.
If the water event involves mold already, that’s a separate discipline from water mitigation. Our Mold Remediation in Houston page covers the containment, air-scrubbing, and removal standards that apply once visible growth is present.
Three Scenarios Where DIY Is Genuinely Appropriate
We’re not the company that tells every homeowner to call us for everything. There are jobs you can and should handle yourself. The discipline is knowing which jobs those are before you start. In Houston, the line is drawn by the following three tests.
1. Surface Condensation on Non-Porous Surfaces
If your AC drain pan overflows onto tile, your toilet tank sweated onto the bathroom floor, or a condensation line dripped onto the garage slab, you can handle that. Non-porous surfaces don’t absorb water. Soap and water, a towel, done. The only caveat is Houston-specific: if that condensation drip has been running for a while and the water has been migrating under baseboards or into a vinyl plank floor, you’ve moved from surface condensation to seepage. That’s no longer a cleaning job.
2. Appliance Drip Under 24 Hours Old
A washing machine supply line that dripped onto tile and you caught it the same day? Clean water from a sanitary line, contained spill, non-porous floor, under 10 square feet. You can mop that up and set up a household fan. Use a dehumidifier if you have one. Check the grout lines and any nearby baseboard for wicking. If water found its way between the tile and the wall, you’ll know within a day or two when the baseboard starts swelling. If it does, stop and call.
3. Contained Area Under 10 Square Feet With No Wall Involvement
If the spill is on the floor, the floor is tile, and the edges are well-sealed, you’re inside the DIY envelope. Ten square feet is roughly a 3-foot by 3-foot puddle. Anything larger and the water has had time and surface area to find hidden pathways.
Key to all three DIY scenarios: the water must be clean. Municipal supply water or a condensation drip counts. Anything from a drain backup, a toilet overflow, a dishwasher discharge line, or water that touched soil is Category 2 or 3 and is not in the DIY column.
Here’s a practical rule we give Houston homeowners: if you can clean it up with the equipment a hotel custodian would use, it’s a DIY job. If you even think you need a rented dehumidifier, you’re already in professional territory.
Four Scenarios Where DIY Creates Legal and Financial Liability
Some DIY decisions cost more than money. In Texas, undocumented self-remediation after a water event can complicate an insurance claim, void a subsequent remediation guarantee, and in the case of Category 3 water, create legal exposure if you later sell the home without disclosure. Here are the four lines you do not cross.
1. Any Mold Involvement
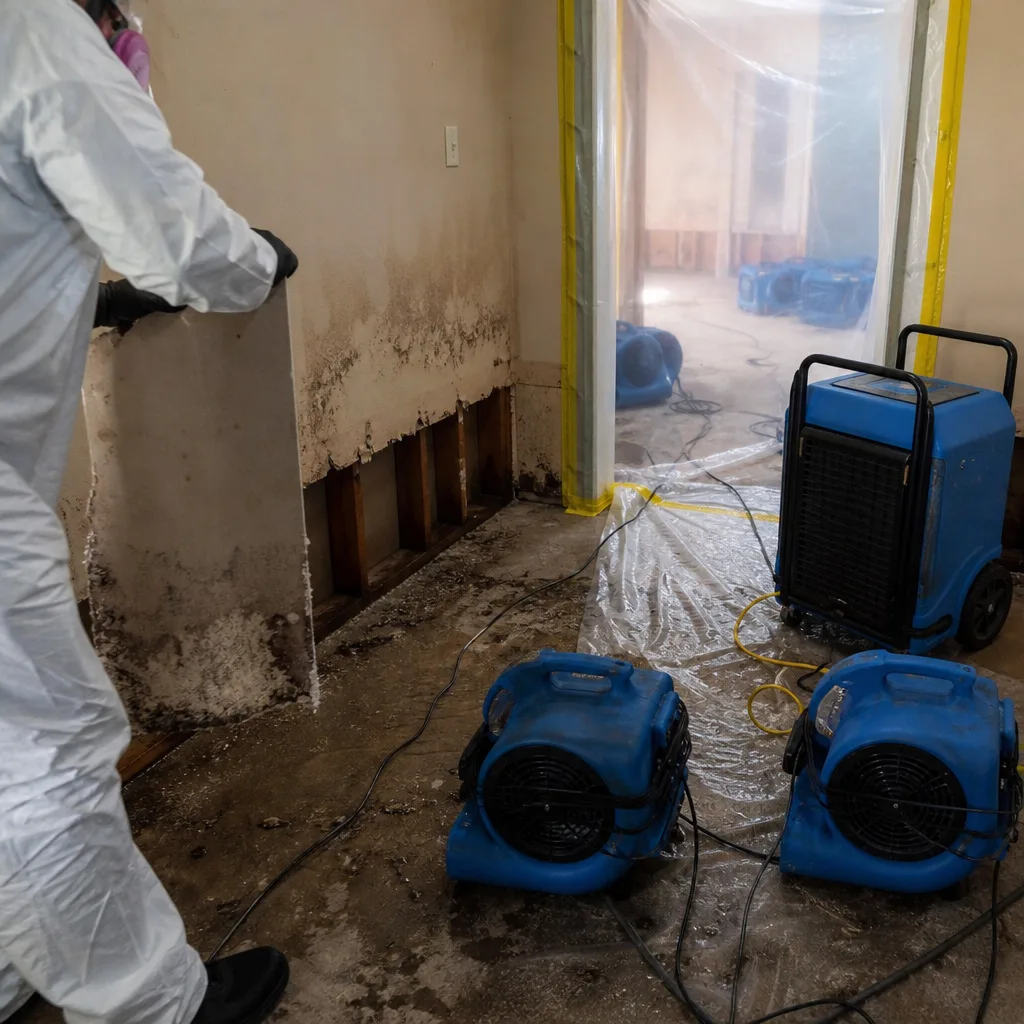
Once visible mold is present, or you have reasonable cause to suspect it – damp drywall that’s been wet more than 72 hours, a musty odor, discoloration spreading – the job leaves the DIY envelope completely. Mold spores aerosolize. DIY attempts to scrub or remove mold without containment spread the spores through the HVAC system and into unaffected rooms. Professional mold remediation requires containment barriers, negative air pressure, HEPA air scrubbers, and disposal protocols that are not available to homeowners. It’s also the one trade where insurance carriers most commonly deny claims after DIY attempts, because the market has established standards for remediation and self-remediation invalidates the record.
2. Category 2 or Category 3 Water
Water damage reads in three categories. Category 1 is clean water: supply lines, condensation, rainwater that hasn’t touched the ground. Category 2 is gray water: dishwasher discharge, washing machine overflow, sump pump failures, water that carries biological or chemical contaminants. Category 3 is black water: sewage, floodwater, groundwater intrusion, any water that contains pathogenic material. Category 2 and Category 3 water can’t be “dried out” by a homeowner regardless of equipment. The materials it touches are removed and disposed of under controlled conditions. The contamination requires antimicrobial treatment, proper PPE, and waste protocols. Standing on your own in a Category 3 event is a health risk that no amount of bleach resolves.
3. Any Structural Component Involvement
Water that has wicked into wall cavities, subfloors, ceiling joists, or headers is beyond DIY in Houston, full stop. You cannot see the extent of the damage. You cannot dry what you cannot reach. And the structural integrity question – what’s still sound, what needs to be cut out, what dries in place versus what gets replaced – is a determination that requires a professional’s scope of loss. That’s the document that says exactly what’s wet, what gets dried, and what gets removed. Without it, you’re guessing, and in a market where buyers and insurers both ask questions, guessing has a price.
4. Any Event Tied to an Open Insurance Claim
This is the one homeowners find out about the hard way. Once you’ve filed a claim, every action you take is part of the claim record. If you attempt self-mitigation and it fails, the adjuster has a documented reason to limit the payout. If you remove wet materials before the adjuster sees them, you’ve destroyed evidence of the loss and potentially the basis for coverage. If you rent equipment and then call a professional, the professional inherits a partially dried job with no baseline readings, which makes the restoration more expensive, not less. The short version: if an insurance claim is open or likely, the professional call is the cheaper call in the long run.
For fire damage specifically, the DIY threshold is categorical: never. Smoke and soot are toxic. Fire-damaged structures have unknown stability. The entire job runs through insurance. See our Fire Damage Restoration in Houston page for what professional fire recovery actually involves.
The Insurance Documentation Threshold: What Self-Remediation Destroys
Insurance adjusters do not work from memory. They work from documentation. A claim is a paper record, and what’s not in the record does not exist. That single fact explains more about the DIY-professional decision than any single piece of equipment or training.
When a homeowner self-remediates, here’s what disappears from the record:
- Baseline moisture readings. The adjuster needs to know how wet the affected materials were on day one. That number establishes the scope of loss and the reasonableness of the remediation. If you don’t have a moisture meter and a written log, that number is gone.
- Photos before any work started. Documented pre-existing damage, the source of the loss, the extent of standing water. Once you move, cut, wipe, or dispose of anything, the visual record is gone.
- The chain of evidence for cause. Why did the failure occur? A slow slab leak and a sudden pipe burst are different claims under different policy provisions. Your DIY assessment is not a licensed determination.
- The scope of required work. A professional’s scope-of-loss document lists exactly what needs to be dried, cleaned, replaced, and by what method. An adjuster compares that scope against the claimed costs. Without a professional scope, the adjuster assumes the minimum and pays accordingly.
- The post-remediation clearance. For mold claims, the final clearance from a certified professional – usually an industrial hygienist or an environmental testing lab – is the document that lets the house be reoccupied and the claim be closed. You cannot self-certify.
Here’s the Houston-specific reframe. In a city with this much water damage volume, adjusters see the same patterns year over year. They know what a professional job looks like. They also know what a DIY attempt looks like: a room fan, a rental unit, and a homeowner who doesn’t understand why the claim is being limited. The difference in payout isn’t a bad-faith act by the carrier. It’s a documentation gap you created by accident.
We’ve had homeowners call us after starting a DIY job, realizing they’re in over their head, and then discovering that the professional remediation costs more because we have to re-establish baselines that no longer exist. In that scenario, calling us first would have been cheaper, not more expensive.
Takeaway: If an insurance claim is or could be involved, the moment you start moving wet materials before documenting them, you’re not saving money. You’re spending evidence. And evidence, in an insurance negotiation, is the only currency that spends.
Every Keegan Restoration Houston job is documented and formatted to support your insurance claim. That means written moisture baselines, photo logs, scope-of-loss documentation, and a final clearance that the adjuster can read. It’s one of the reasons we run to The Garrison Standard: written price before work starts, documentation throughout, and a one-year written guarantee at the end.
The First 30 Minutes: What to Do Before You Decide
The first half hour after you discover water in your Houston home is the highest-leverage window you have. What you do in that window determines whether the job stays small and clean or becomes a restoration project. Here’s the sequence, in order.
- Shut off the water source. If you know where the water is coming from, stop it. That means the main shutoff valve at the street or the supply shutoff at the appliance. In Houston, the main shutoff is usually under the front bed at the meter or on the side of the house by the foundation. Know where it is before you need it.
- Cut power to the affected area if water is near outlets or appliances. Water conducts electricity. If water is pooled near any plug, switch, cord, or appliance, cut the circuit at the breaker box before you walk into the room. This is not optional.
- Photograph everything before you move anything. Standing water, wet flooring, swollen baseboards, water marks on the ceiling, the source of the leak. Use your phone. Take wide shots and close-ups. This is your insurance baseline.
- Remove what’s safe to remove. Rugs, furniture, boxes, shoes, anything sitting in water or on wet carpet. Move it to a dry area. Don’t attempt to move anything too heavy or anything on wet stairs.
- Mop or extract standing water from non-porous surfaces only. If the floor is tile, get the water up. If the floor is carpet or wood, leave the extraction to a professional with the right equipment. Half-extracting water from carpet makes the drying job harder, not easier.
- Set towels at the perimeter to slow wicking. This buys you time while you make the call. It does not dry the room.
- Take your own moisture reading if you can. A $40 pin-type moisture meter from a hardware store will tell you whether wall cavities are wet. That single reading often settles the DIY question immediately. If the wall reads above 15% moisture content, it’s a professional job.
- Make the call. By minute 30, you should know whether this is a towel-and-fan job or a restoration job. If it’s the latter, call. A live person answers our phone 24 hours a day, seven days a week. Not an answering service. Not a callback queue. A person. At 2 a.m. on a holiday, a person answers.
One note on Houston-specific leaks: we see a lot of slab leaks in Houston because of the clay soil and shifting foundations. A slab leak is not a visible puddle. It’s warm spots on the floor, reduced water pressure, a water bill spike, or the sound of running water when nothing is on. If you suspect a slab leak, you don’t need a dehumidifier decision. You need a leak detection and a plumber, and then a restoration crew. The order matters: find the leak, stop the leak, then dry the structure.
Common Mistakes to Avoid
- Waiting to see if it dries on its own. In Houston’s humidity, it won’t. The window for microbial growth closes fast. Waiting costs you floors, baseboards, drywall, and sometimes insulation.
- Assuming a dehumidifier rental is “as good as” professional drying. Rental units are rated for typical household humidity control, not structural drying. They’re underpowered by a factor of ten, and Houston’s ambient humidity makes that gap worse.
- Opening windows to air out the house. In Houston, you’re pulling in air with more moisture than the air you’re replacing. Keep the envelope closed and run the AC if it’s safe to do so.
- Applying bleach to mold. Bleach changes the color of the mold but does not kill it at the root, and it adds a secondary chemical to the environment. Worse, it drives spores into the air without a containment strategy.
- Cutting out wet drywall yourself to “be helpful.” You’ve just destroyed the insurance documentation and spread contaminated dust through the house. Stop. Leave the structure intact until it’s been assessed.
- Running a household vacuum or shop vac on wet carpet. Household vacuums are not rated for water, and even most shop vacs can’t extract enough water to make the drying math work. You’re spending effort on a job that needs commercial extraction.
- Signing anything that starts work without a written price. In our experience, the biggest financial risk to a Houston homeowner is not the water. It’s the contractor who gives a verbal estimate and then “discovers” more work after the crew is already inside. The written price before work starts is the discipline that protects you. If a contractor won’t put the number in writing before the first fan gets plugged in, walk.
When to Call a Professional
Any of the following means the DIY window has closed: water from a drain line, toilet, or any source that is not clean municipal supply; water that has touched drywall, cabinetry, hardwood, subfloor, or any structural component; visible or suspected mold; a musty odor that hasn’t resolved; any event where an insurance claim has been or will be filed; Water that has been standing longer than 24 hours; or any fire or smoke damage, which is never a DIY job.
If you’re in one of those situations, the call is the cheap part. Keegan Restoration Houston home is the hub for our water, fire, and mold work. A live person answers 24/7, and every job runs to The Garrison Standard: written price before work starts, uniformed, background-checked technicians, and a one-year written guarantee called the 365-Day Done Right Promise. We offer free estimates across Houston. Call (325) 550-1783.
Our Mold Remediation in Houston service is the right call if you see or smell any signs of growth. And if you’ve had water damage that led to structural drying questions, our Water Damage Restoration in Houston page explains the full professional process and what it should cost in this market.
Frequently Asked Questions
The moisture removal rate. A typical rental dehumidifier removes 10 to 20 pints per day in real-world conditions, while a professional LGR unit like those made by Dri-Eaz or Phoenix removes 130 to 200 pints per day. That’s a tenfold difference, and in Houston’s humidity, the slower unit cannot dry building materials fast enough to prevent mold.
You can, but you’ll likely make it worse. Houston’s ambient humidity sits between 70% and 80% for much of the year, which means outside air has almost no capacity to absorb additional moisture. Professional drying works by creating a sealed, low-humidity environment with controlled air movement, not by circulating already-humid air. Open windows in a Houston water event slow the drying process.
Mold colonization begins within 48 to 72 hours under Houston’s conditions. The window is often shorter in the summer when temperatures and humidity are both high. If drywall has been wet for more than two days, you should assume mold has started.
Most standard homeowner’s policies cover sudden and accidental water damage, including burst pipes and appliance failures. Coverage for gradual leaks, flood damage, or mold remediation depends on your specific policy. What’s consistent is that undocumented DIY work can reduce or eliminate your payout. Professional documentation supports the claim and establishes the scope of loss.
Houston water damage restoration typically ranges from $1,500 to $4,500 for a contained single-room event involving extraction, drying, and minor repairs. Larger events involving structural drying, mold remediation, or Category 3 water can run $8,000 to $20,000 or more. The range depends on the extent of water migration, the materials affected, and the category of water. For an exact number, call (325) 550-1783 for a free estimate. The price is in writing before any work starts.
A live person answers our phone 24 hours a day, seven days a week, for emergency dispatch across Houston. We schedule crews to arrive the same day for active water events. The first hour after discovery is the highest-leverage window, which is why our dispatch runs on live humans, not phone trees.
If the water was clean, the affected area was small, and the materials dried completely within 48 hours, cleaning and repainting may be sufficient. If the water was Category 2 or 3, if mold is present, or if structural components were wet, painting over the problem creates a concealed defect that will surface later – potentially during a home sale, where disclosure laws apply. A professional assessment tells you definitively which situation you’re in.
In our experience, the best outcomes happen when the restoration contractor’s documentation goes directly to the adjuster. We provide written moisture baselines, photo logs, and a scope of loss in the format adjusters expect. You stay informed at every step, but the documentation is professional-grade. If the carrier has questions, the record answers them.
The Bottom Line
In Houston, the DIY-versus-professional decision is not about whether you’re handy. It’s about physics, biology, and paperwork. The physics: Houston’s humidity means amateur drying equipment cannot extract moisture fast enough to prevent mold. The biology: mold starts inside 72 hours, and once it starts, the job changes categories entirely. The paperwork: an undocumented self-remediation is the most expensive “savings” in restoration, because it destroys exactly the evidence your claim needs. DIY has its place – small, clean, contained, fast. Professional restoration has its triggers – any gray or black water, any mold, any structural involvement, any insurance claim. The line is not vague. It’s specific. And the moment you’re unsure, the call is free. Keegan Restoration Houston answers 24/7 at (325) 550-1783. Written price before work starts. Guaranteed in writing for a full year. Done right, or we return and make it right.
Written by Shane Pruitt, Owner at Keegan Restoration Houston, serving Houston since 2005.
See the difference
 Before
 After
After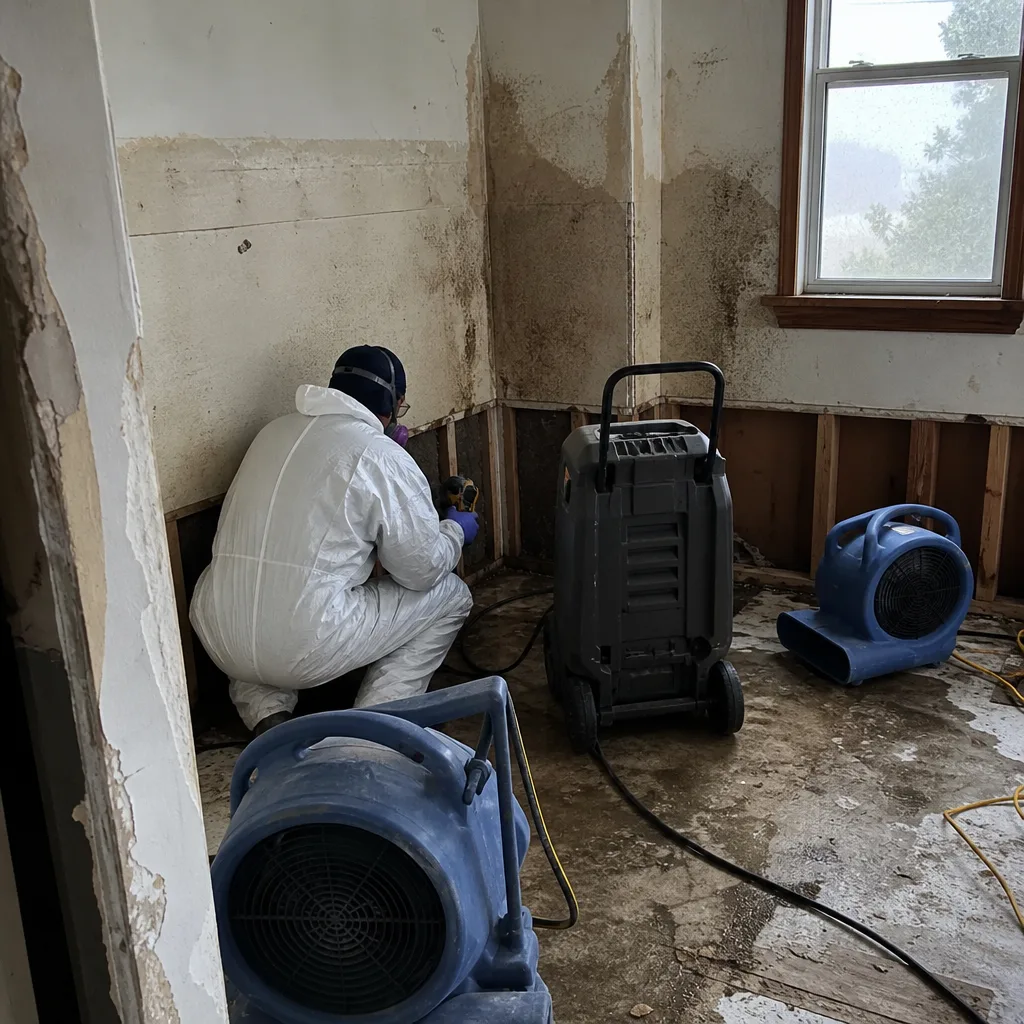 Before
 After
After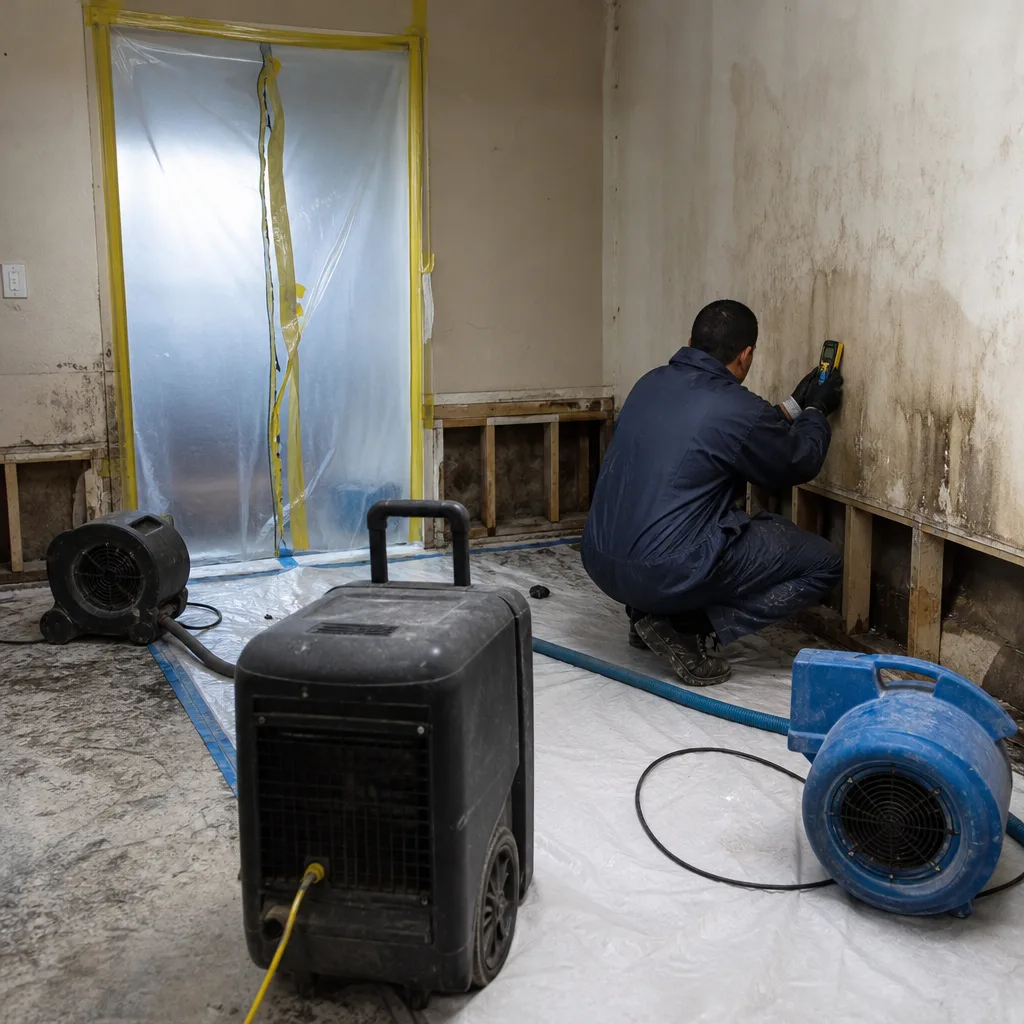 Before
 After
After